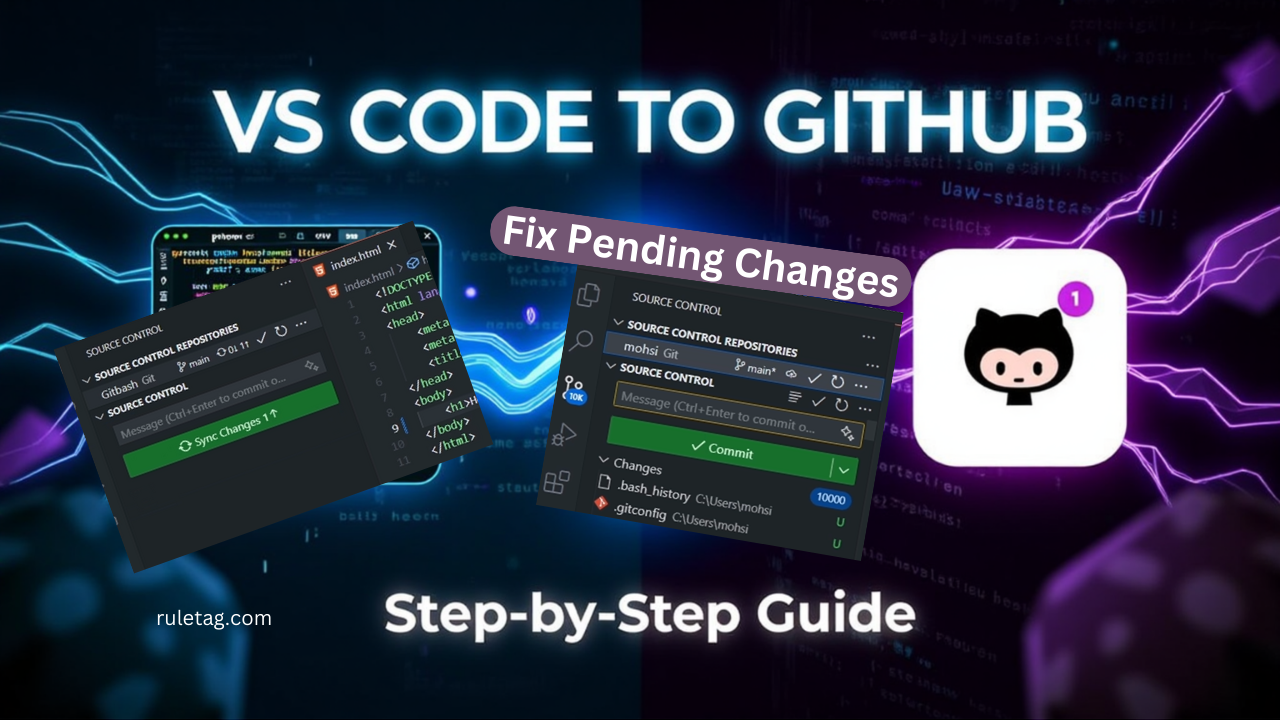
How to Publish Code from VS Code to GitHub and Fix a Common Issue
In this guide, I will teach you how to publish your code from VS Code to GitHub and Pending Changes issue that many users face in VS Code. Follow the steps below to ensure a smooth workflow.
Read In Hindi(Roman) Language Here
Step 1: Download and Install Git Bash
- Open Google Chrome and search for “Git Bash Download.”
- Click on the first link that appears.
- Choose your system (Windows in my case) and download the latest 64-bit or 32-bit version.
- Once downloaded, open the installer and follow these steps:
- Click Next until you reach the Additional Icons page. If you want a shortcut on your desktop, check the option.
- Select your Code Editor (VS Code in this case).
- Choose the (default branch name Let Git Decide Or Override (like main or any other you prefer).
- Click Next multiple times, then Install.
- Once installed, close the setup.
Step 2: Configure Git in VS Code
- Open VS Code and create a new folder (e.g.,
git-bash). - Inside this folder, add an index.html file with some sample code.
- Open the Terminal in VS Code and enter the following commands:
git config --global user.name "Your_Name Last_Name"
git config --global user.email "[email protected]"- 4. Ensure your GitHub account is signed in to sync settings in VS Code.
- 5. Click on Sign in to sync settings and authorize your GitHub account.
Step 3: Publish Your Code to GitHub
- Create a GitHub Account if you’ve not created one.
- Open Vs code Create or open New/Existing Files in VS Code
- In VS Code, click on the Source Control icon (three circles on the left panel).
- Click Initialize Repository and enter a commit message (e.g.,
Updated). - Click Publish Branch to push the code to GitHub.
- Choose your Repository Name and hit Enter.
- After a successful publishing notice (at the bottom right of VS Code) Refresh your GitHub account, and you should see your repository with your chosen file.
Step 4: Update Your Code and Push Changes
- Make changes to your yourfile.code file.
- In VS Code, go to Source Control and add a new commit message (e.g.,
Updated Headings). - Click Sync Changes.
- Refresh your GitHub repository to see the updated file.
Step 5: Push Code to an Existing Repository
- Create a new repository on GitHub.
- In VS Code, Create a New or Existing folder and add an
yourfile.codefile. - Open the Terminal and run the following commands:
git init
git remote add origin https://github.com/username/repo-name.git
git add .
git commit -m "Initial commit"
git push -u origin master
or
git push -u origin yourbranchname- 4. Refresh your GitHub account, and the new repository will be updated.
- 5. Pushing New Changes to the github is the same as existing Repository
Step 6: Fixing a Common VS Code Issue
Many users face an issue where VS Code shows unwanted files due to Git tracking all subfolders. Here’s how to fix it:
- Open File Explorer and navigate to your project folder.
- Enable Hidden Files in your system settings.
- Locate and delete the
.gitfolder inside the affected project directory. - Restart VS Code if needed, the issue should be resolved.
If you want Git to track only specific folders, always initialize the repository in the correct folder.
Conclusion
By following this guide, you can successfully publish your code from VS Code to GitHub, manage repositories, push updates, and resolve common Git-related issues.


Leave A Comment